[Ebook Việt Hoá] House plants: A guide to choosing and caring for indoor plans (Hướng dẫn Chọn và Chăm Sóc cây Indoors) - Lisa Eldred Steinkopf
[Ebook Việt Hóa] Cây trồng trong nhà: Hướng dẫn chọn và chăm sóc cây trồng trong nhà – Lisa Eldred Steinkopf – II – Trồng cây (Trồng cây)
- Biên tập: Dũng Cá Xinh
- Dịch: Thu Hà
English
In every houseplant owner’s life, the time comes to get your hands dirty. Plants grow, increase in size, and eventually need to be moved to a new container. In certain situations, it may mean the plant is moved into a similar-size container, returned to the same container, or moved into a larger container.
This process is one that can be enjoyable, knowing that you are helping your plant grow better. Providing it with the best potting medium for its particular needs ensures the root system can function well and provide the plant with what it requires for optimal growth. Repotting or up-potting are easy tasks, if done correctly and at the right time for the plant. Assess the needs of the plant you are working with. Is it root-bound? Is it looking undernourished or off-color? Does it need a new, clean pot or a different color pot to match your décor? Keep in mind the container size you need for your plant when shopping for a new pot. Measuring the old container to determine the size needed can be helpful before purchasing a new one. If up-potting a plant, make sure this is being done at a time when the plant is actively growing. The plant will thank you by pushing out new, healthy growth.
POTTING SUPPLIES
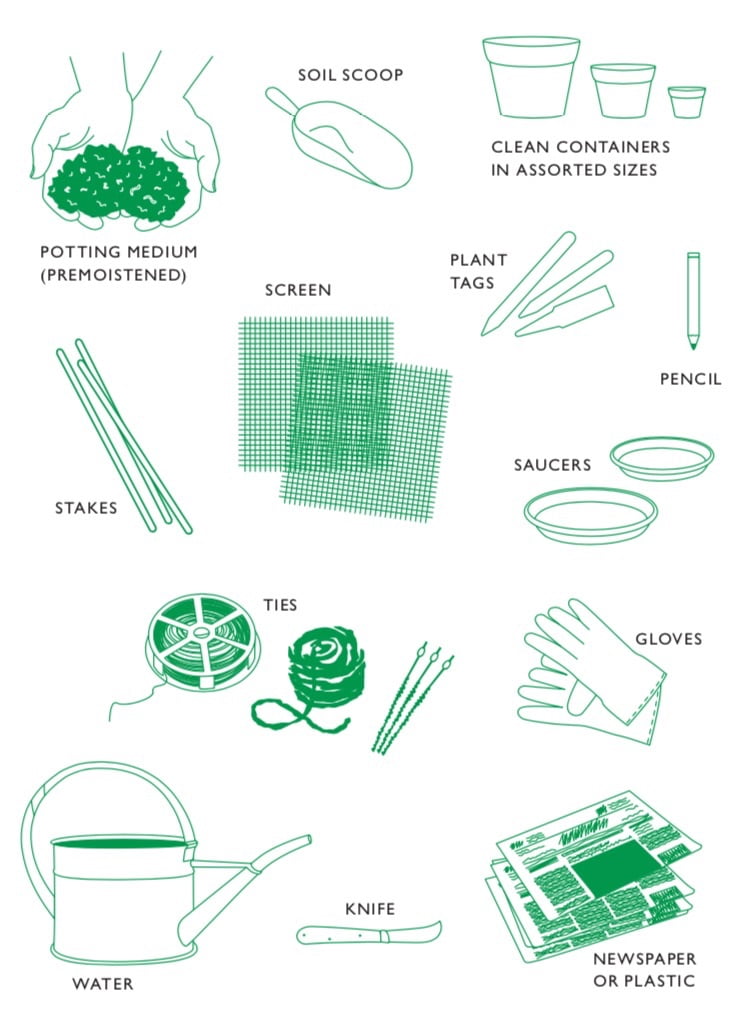
Repotting and Up-Potting
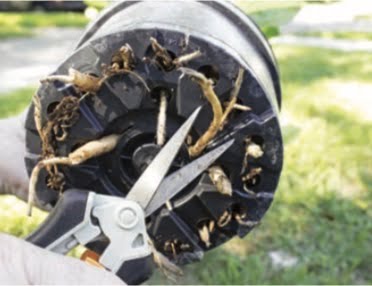
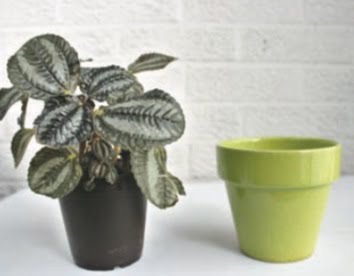
Repotting most often involves moving a plant from the utilitarian grower’s pot to a more decorative pot of the same size. Inspect the roots when repotting.
If the pot is full of roots and seems root-bound, you may have to repot in a larger container. Also, check that the depth of the plant in the potting medium is correct. Quite often, the stems are buried in 1⁄2 to 1 inch (1.27 to 2.54 cm) of extra soil. Remove the superfluous soil and pot the plant at a better depth.
Repotting is also necessary if your pot gets broken or you notice an accumulation of salt residue on the pot rim.
When up-potting, or moving your plant to a larger container, do it gradually. If you are moving a plant from a 4-inch (10.16 cm) pot, move up to a 6-inch (15.24 cm) pot, and so on. If a plant has too much soil surrounding its rootball, it may cause the roots to rot, as they cannot use all the water available to them.

Houseplant Containers
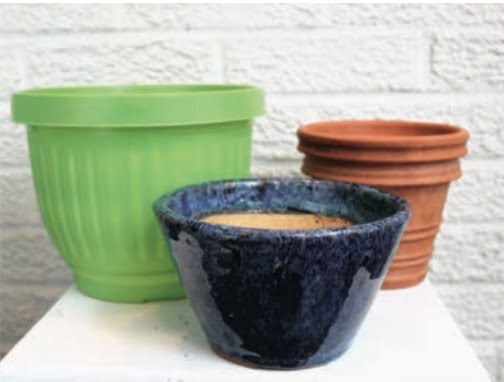
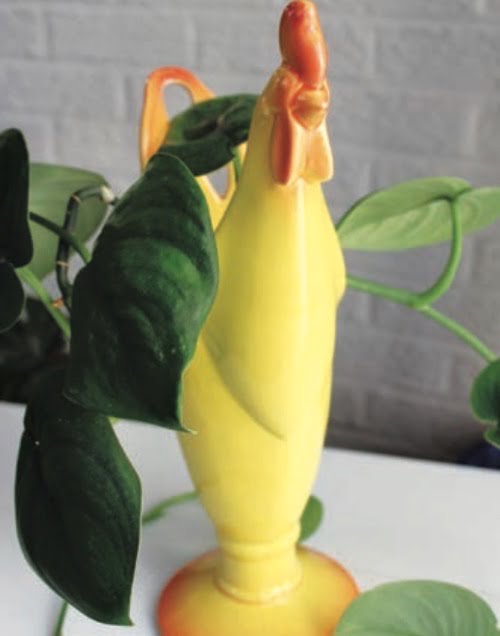
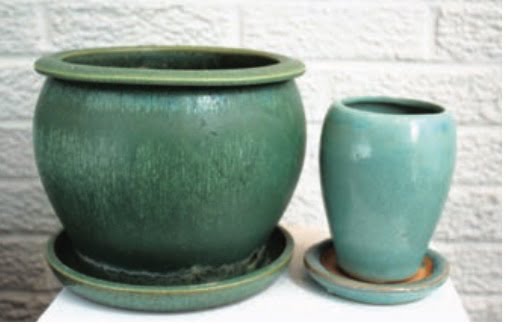
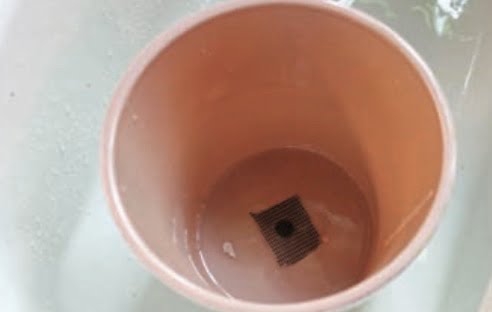
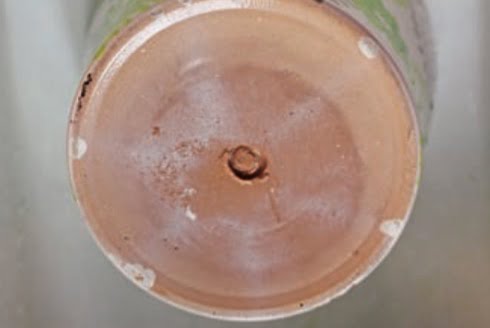
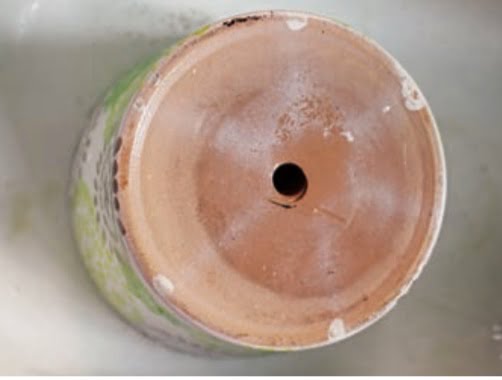
The only requirement of any container is proper drainage, meaning a drainage hole, not gravel in the bottom of the pot. Using gravel or pebbles as drainage is unnecessary and not helpful. Using medium all the way to the bottom of the container will make a long column of planting medium, which gives the plant more room for roots. Before adding the soil, place window screening over the hole; the potting medium will stay in and the excess water will easily drain out.
How to Adapt Pots for Planting
If you have a container without a drainage hole, it can be used as a cachepot(pronounced cash-poe), which is French for “flowerpot holder.” If I had a pot I didn’t want to drill a hole in, such as an antique piece of pottery, I would go this route. Water the plant in the sink, allow the excess water to drain from the bottom of the planting pot, and return the plant to the cachepot. Or, if the plant is too large, water the plant in the cachepot and use a turkey baster to suck out any extra water in the bottom.
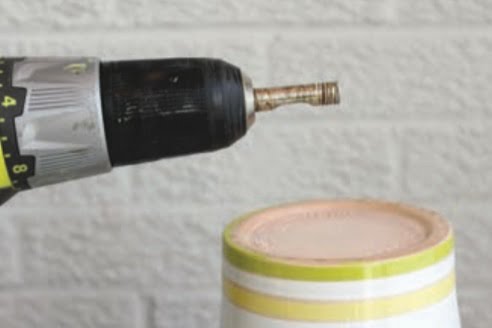
If, on the other hand, you want to drill a hole in a container, I suggest buying a masonry drill bit or a diamond-tipped drill bit. These bits, especially the diamond bit, make it a breeze to drill a hole in any vessel, even glass.Wear safety glasses and follow the directions provided with the bit.
When finished repotting, use a pencil to write the common name and botanical name of the plant, as well as the date it was repotted on a plastic plant tag.You would be amazed how fast time goes by.You may find a plant seems to be struggling because it has been more than five years since the plant has been repotted. You may also find it useful to record the place it was purchased, the price paid,
and the date purchased.
Tiếng Việt
Trong cuộc đời của mỗi chủ sở hữu nhà vườn, sẽ có ngày phải tự tay mình bới đất trồng cây. Cây phát triển, tăng kích thước và cuối cùng cần được chuyển đến một thùng chứa mới. Trong một số tình huống nhất định, điều đó có nghĩa là cây được chuyển vào một thùng chứa có kích thước tương tự, trở lại thùng chứa cũ hoặc chuyển sang thùng chứa lớn hơn.
Quá trình này có thể rất thú vị vì bạn đang giúp cây trồng của mình phát triển tốt hơn. Cung cấp giá thể tốt nhất cho nhu cầu cụ thể của cây để đảm bảo hệ thống rễ có thể hoạt động tốt và cung cấp cho cây những gì nó cần để phát triển tối ưu. Thay chậu hoặc để lên bầu là những công việc dễ dàng, nếu được thực hiện đúng cách và đúng thời điểm cho cây. Cần để ý liệu: Nó có ràng buộc gốc không? Nó trông có vẻ thiếu dinh dưỡng hoặc kém sắc? Nó cần một cái chậu mới, sạch sẽ hay một cái chậu có màu sắc khác để phù hợp với phong cách trang trí nhà của bạn? Hãy ghi nhớ kích thước thùng bạn cần cho cây khi mua chậu mới. Đo thùng chứa cũ để xác định kích thước cần thiết sẽ rất hữu ích trước khi mua thùng mới. Nếu trồng cây trong chậu, hãy đảm bảo rằng việc này được thực hiện vào thời điểm cây đang phát triển tích cực. Cây nhờ vậy sẽ được phát triển khỏe mạnh.
Dụng Cụ Và Quy Trình

Thay Chậu Và Lên Bầu
Việc thay chậu thường liên quan đến việc chuyển cây từ chậu của người trồng này sang chậu trang trí đẹp hơn có cùng kích thước. Nhớ kiểm tra rễ khi thay chậu.
Nếu chậu có nhiều rễ và có vẻ như bị bám rễ, bạn có thể phải thay chậu trong một thùng chứa lớn hơn. Ngoài ra, hãy kiểm tra xem độ sâu của cây trong bầu đã chính xác chưa. Thông thường, thân cây được chôn trong lớp đất thừa từ 172 đến 1 inch (1,27 đến 2,54 cm). Loại bỏ đất thừa và trồng cây ở độ sâu phù hợp hơn. Thay chậu cũng cần thiết nếu chậu cũ của bạn bị vỡ hoặc bạn nhận thấy cặn muối tích tụ trên vành chậu.
Khi lên bầu hoặc chuyển cây sang thùng lớn hơn, hãy làm dần dần. Nếu bạn đang chuyển cây từ chậu 4 inch (10,16 cm), hãy chuyển lên chậu 6 inch (15,24 cm), v.v. Nếu cây có quá nhiều đất xung quanh rễ, điều đó có thể làm cho rễ bị thối, vì chúng không thể sử dụng tất cả lượng nước có sẵn.


Chậu Cây


Yêu cầu duy nhất của bất kỳ thùng chứa nào là có hệ thống thoát nước thích hợp, nghĩa là có lỗ thoát nước chứ không phải sỏi dưới đáy chậu. Sử dụng sỏi hoặc đá cuội để thoát nước là không cần thiết và không hữu ích. Sử dụng giá thể đến tận đáy của thùng chứa sẽ tạo thành một cột chất trồng, giúp cây có nhiều chỗ tốt hơn cho bộ rễ. Trước khi thêm đất, đặt tấm lọc trên lỗ; ruột bầu sẽ ở trong và lượng nước dư thừa sẽ dễ dàng thoát ra ngoài.
Nếu bạn có một thùng chứa không có lỗ thoát nước, nó có thể được sử dụng như một cái lọ đựng tiền (phát âm là cash-poe), tiếng Pháp có nghĩa là “người giữ lọ hoa”. Nếu tôi có một cái chậu mà tôi không muốn khoan lỗ, chẳng hạn như một mảnh gốm cổ, tôi sẽ làm theo cách này. Tưới nước cho cây trong bồn rửa, để lượng nước thừa thoát ra từ đáy chậu trồng và đưa cây trở lại chậu trồng cây. Hoặc, nếu cây quá lớn, hãy tưới cây trong chậu nước và sử dụng giá thể để hút bớt nước dưới đáy.
Mặt khác, nếu bạn muốn khoan một lỗ trong thùng chứa, tôi khuyên bạn nên mua một mũi khoan xây hoặc một mũi khoan có đầu kim cương. Những mũi khoan này, đặc biệt là mũi kim cương, giúp bạn dễ dàng khoan một lỗ trên bất kỳ vật dụng nào, thậm chí là thủy tinh.
Khi thay chậu xong, hãy dùng bút chì viết tên thường và tên thực vật của cây, cũng như ngày thay chậu trên thẻ nhựa cây trồng. Bạn cũng có thể thấy hữu ích khi ghi lại địa điểm đã mua, giá đã trả, và ngày mua.


![[Ebook Việt Hóa] Cây trồng trong nhà: Hướng dẫn chọn và chăm sóc cây trồng trong nhà – Lisa Eldred Steinkopf – II – Trồng cây (Trồng cây) [Ebook Việt Hóa] Cây trồng trong nhà: Hướng dẫn chọn và chăm sóc cây trồng trong nhà – Lisa Eldred Steinkopf – II – Trồng cây (Trồng cây)](https://vn1.vdrive.vn/codai.net/2021/03/02-choosecare-planting.jpg)


