Bonsai: Sang chậu, Chăm sóc Bonsai, Chăm sóc cây cảnh, Chia sẻ kinh nghiệm, Sang chậu
Vấn đề sang chậu trong trồng cây Bonsai

Th8
Để ngăn việc cây Bonsai bị bó buộc vào chậu cây và cuối cùng bị chết đối, hãy cân nhắc việc sang chậu thường xuyên. Sang chậu cây Bonsai của bạn không làm cho cây nhỏ lại mà thay vào đó cung cấp cây chất dinh dưỡng mới để cây phát triển và rực rỡ.

Khi nào cần sang chậu?
Việc thay chậu thường xuyên cần được thực hiện vào đầu mùa xuân, khi cây vẫn còn trong trạng thái ngủ đông. Bằng cách này, những tác hại của việc thay chậu sẽ giảm đáng kể, vì cây vẫn chưa phải duy trì tán lá phát triển đầy đủ. Thay chậu vào đầu mùa xuân cũng sẽ đảm bảo rằng thiệt hại cho hệ thống gốc sẽ được sửa chữa, ngay khi bắt đầu phát triển.
Hỗn hợp đất trồng cây cảnh
Chọn đúng loại đất cho mỗi loại cây là một vấn đề sống còn, nó cần được thoát nước đủ để ngăn rễ bị thối rữa, đồng thời hấp thụ đủ nước để cung cấp cho cây. Mặc dù một số loài cây cần hỗn hợp đất đặc biệt, thì hỗn hợp kiểu như sau khá phù hợp với mọi loại cây:
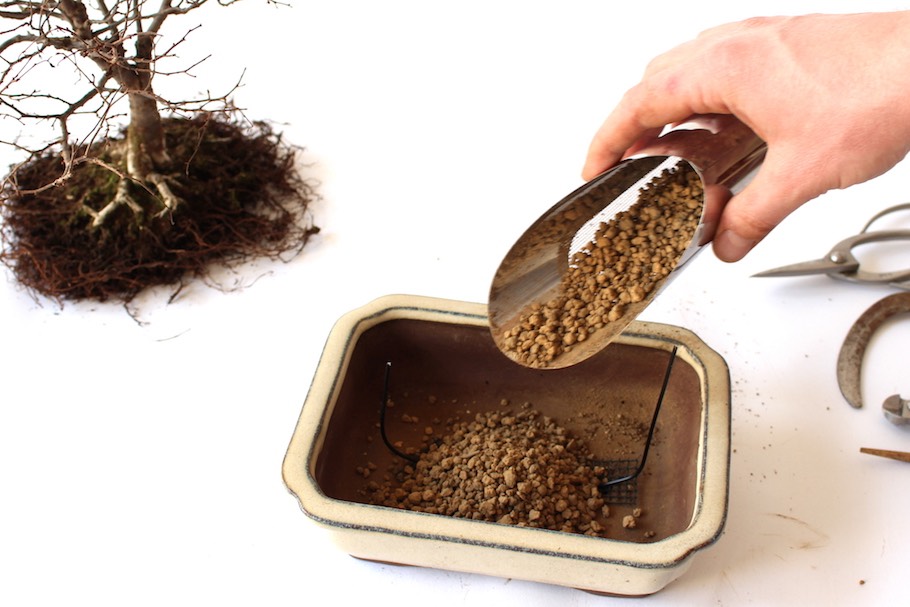
Trộn Akadama, đá bọt và đá nham thạch theo tỷ lệ 2:1:1. Khi bạn không có thời gian tưới nước thường xuyên, hãy chọn hỗn hợp hút nước nhiều hơn (sử dụng nhiều Akadama), trong khi bạn nên chọn hỗn hợp thoát nước nhiều hơn (sử dụng nhiều đá nham thạch) khi để cây ở vùng khí hậu ẩm ướt. Đọc thêm các bài viết về hỗn hợp đất dành cho Bonsai để tìm hiểu kỹ các bạn nhé.
Chọn chậu cây Bonsai

Hãy sử dụng chậu cây cân bằng các yếu tố: Phù hợp với cây của bạn, phù hợp các vấn đề thẩm mỹ và độ bền. Hãy tham khảo thêm các bài về Chậu cây Bonsai nhé.
Cách sang chậu từng bước
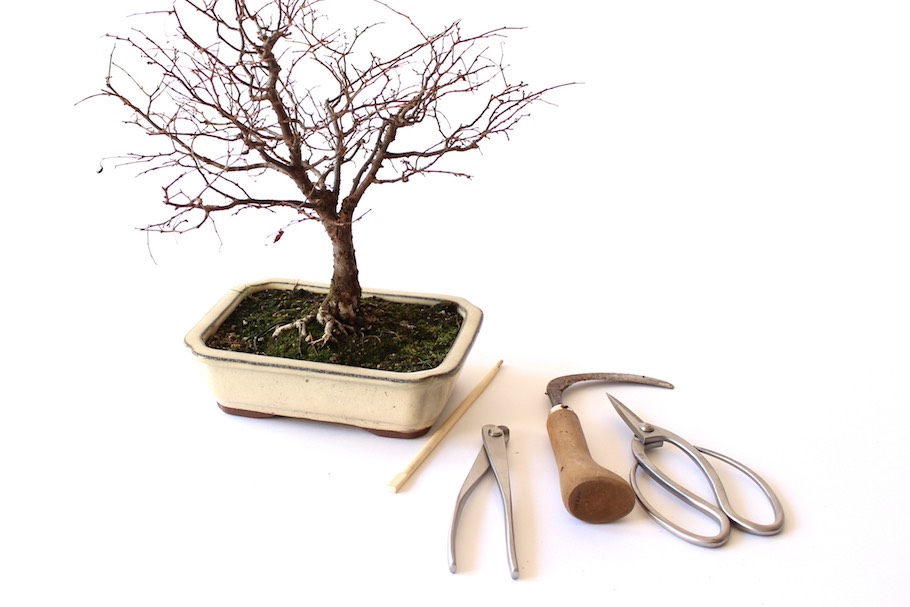
Cùng xem các bước sang chậu có hình ảnh chi tiết các bạn nhé!
Bước 1
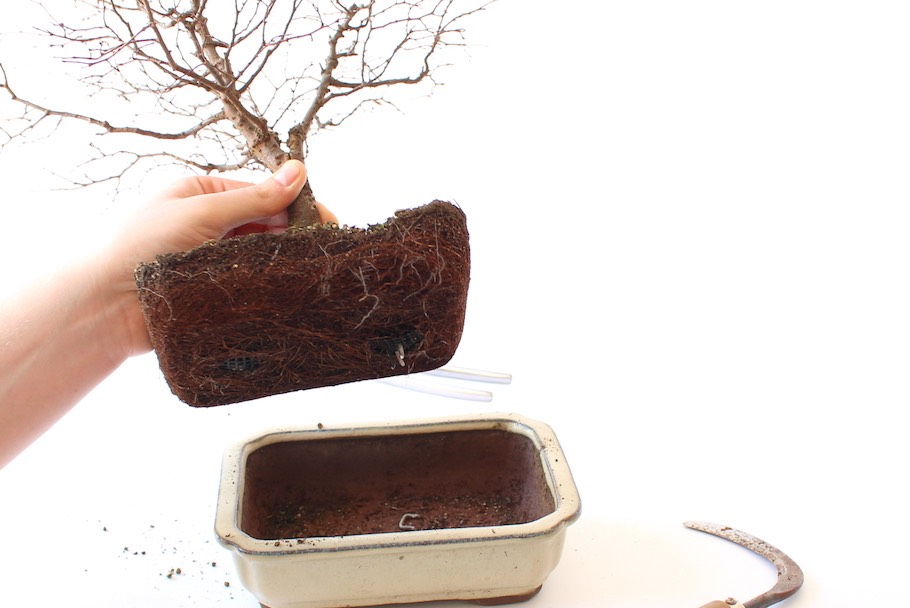
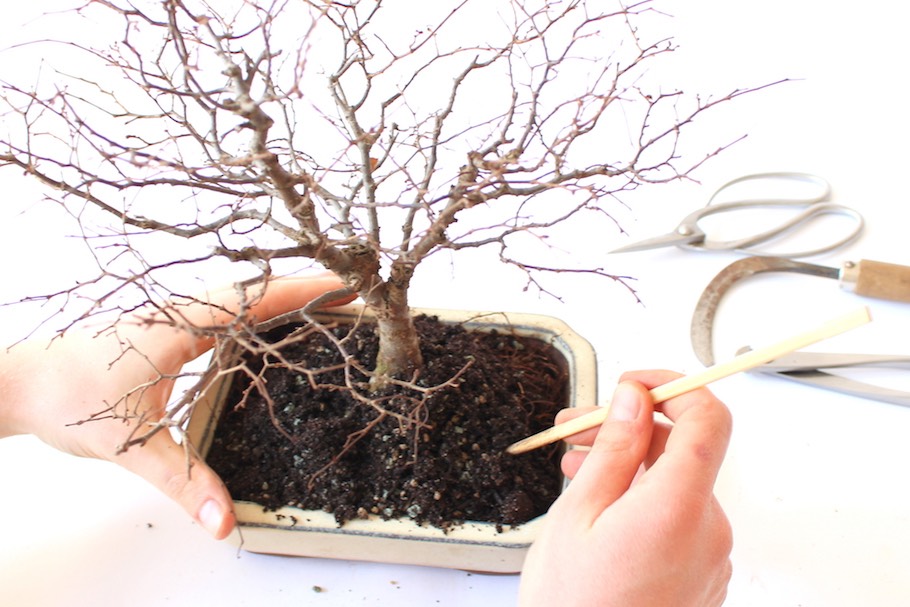
Bước 2

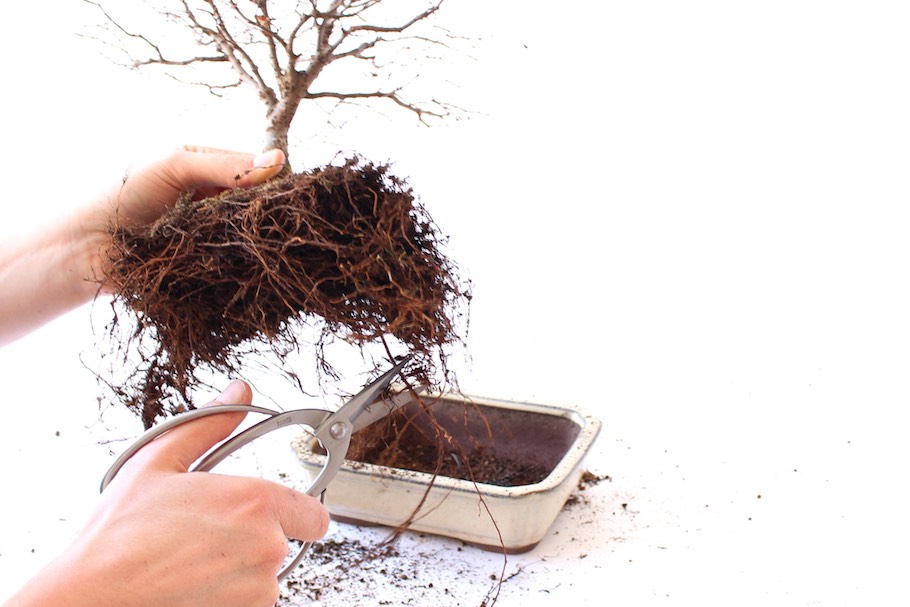
Bước 3

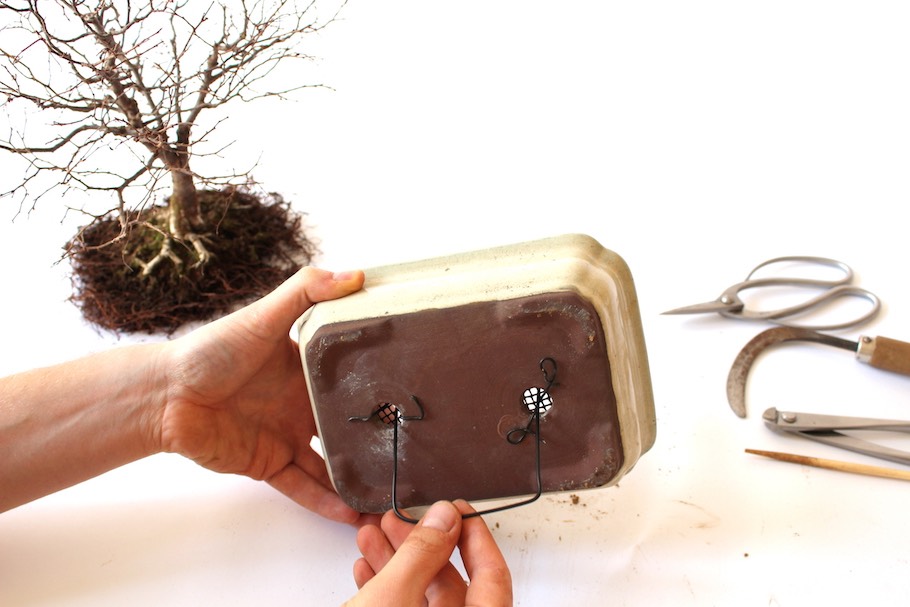
Bước 4
Bước 5

Bước 6
Bước 7

Bước 8

Bước 9
Bước 10
Bước 11

Bước 12

Bước 13

Bước 14
Bước 15

Bước 16
